Cara Aman Setting & Instalasi Videotron Indoor untuk Hasil Maksimal
Posting Date
Category
03 Nov 2025
Business

Safe Guide for Setting and Installing Indoor Videotron
In today’s digital era, videotrons have become a top visual solution for various needs, from product promotions and exhibitions to corporate branding. However, to achieve maximum performance and long-lasting display quality, the setting and installation process must be done carefully and safely.
This guide will help you understand the essential steps for installing an indoor videotron, from site preparation to software configuration, to ensure optimal results and avoid any potential equipment damage.
1. Site Preparation Before Installation
Before starting the installation, make sure the location meets technical and safety standards.
Here are several key points to check:
-
Strong and stable mounting structure. Avoid installing on fragile walls or uneven surfaces.
-
Controlled humidity levels. Excessive humidity can shorten the LED module’s lifespan.
-
Sufficient and stable electrical capacity. Use proper grounding and dedicated circuit breakers to prevent short circuits.
-
Proper viewing distance and height. Adjust the screen’s position according to room size and audience placement.
Tip: Use tools such as a laser level to ensure the mounting surface is perfectly even.
2. Installing the Frame and LED Panels
Once the site is ready, proceed to the installation of the frame and LED panels.
Follow these general steps:
-
Install the main frame using sturdy materials such as hollow steel or aluminum.
-
Ensure the frame is level and firmly secured.
-
Install the power supply and data cables before fully attaching the panels.
-
Assemble the LED panels from bottom to top to minimize gaps between modules.
-
Use factory-standard bolts and connectors for a neat and secure installation.
Note: Do not power on the system until all connections are properly secured.
3. Software Setup and Calibration
After the physical installation, continue with the software configuration process to ensure accurate display output.
Here’s how to set it up:
-
Install control software such as NovaStar, Colorlight, or similar systems.
-
Adjust the screen resolution according to the LED module type (e.g., P2.5, P3, P4).
-
Perform color calibration to ensure color uniformity across all modules.
-
Set the brightness and contrast levels suitable for indoor environments.
-
Test input signals from a computer or media player using HDMI or LAN connections.
Always use high-resolution content (Full HD or 4K) for sharp, vivid visuals.
4. Electrical Safety and Regular Maintenance
To maintain long-term performance and prevent electrical issues:
-
Use a UPS or voltage stabilizer to protect against power surges.
-
Check cables and connectors periodically.
-
Clean the panels regularly using a dry microfiber cloth.
-
Avoid using harsh or alcohol-based cleaning solutions.
Routine maintenance is a small investment that extends the videotron’s lifespan and keeps its display performance at its best.
5. Common Troubleshooting for Indoor Videotron
Here are some common issues and how to solve them:
| Issue | Cause | Solution |
|---|---|---|
| Display shows lines | Loose data cable | Check and tighten the connectors |
| Some panels are off | Damaged LED module | Replace the defective module |
| Uneven color display | Incorrect calibration | Recalibrate using the control software |
| Video delay | Low refresh rate | Increase refresh rate in control settings |
6. Additional Tips for Safe and Professional Installation
-
Always work with experienced and certified technicians.
-
Perform a full test before the videotron is officially used for events.
-
Ensure proper air circulation in the room to avoid overheating.
-
Keep a backup of the configuration files to restore quickly in case of system errors.
Contact Us
Want to create a stunning visual display without worrying about setup and installation?
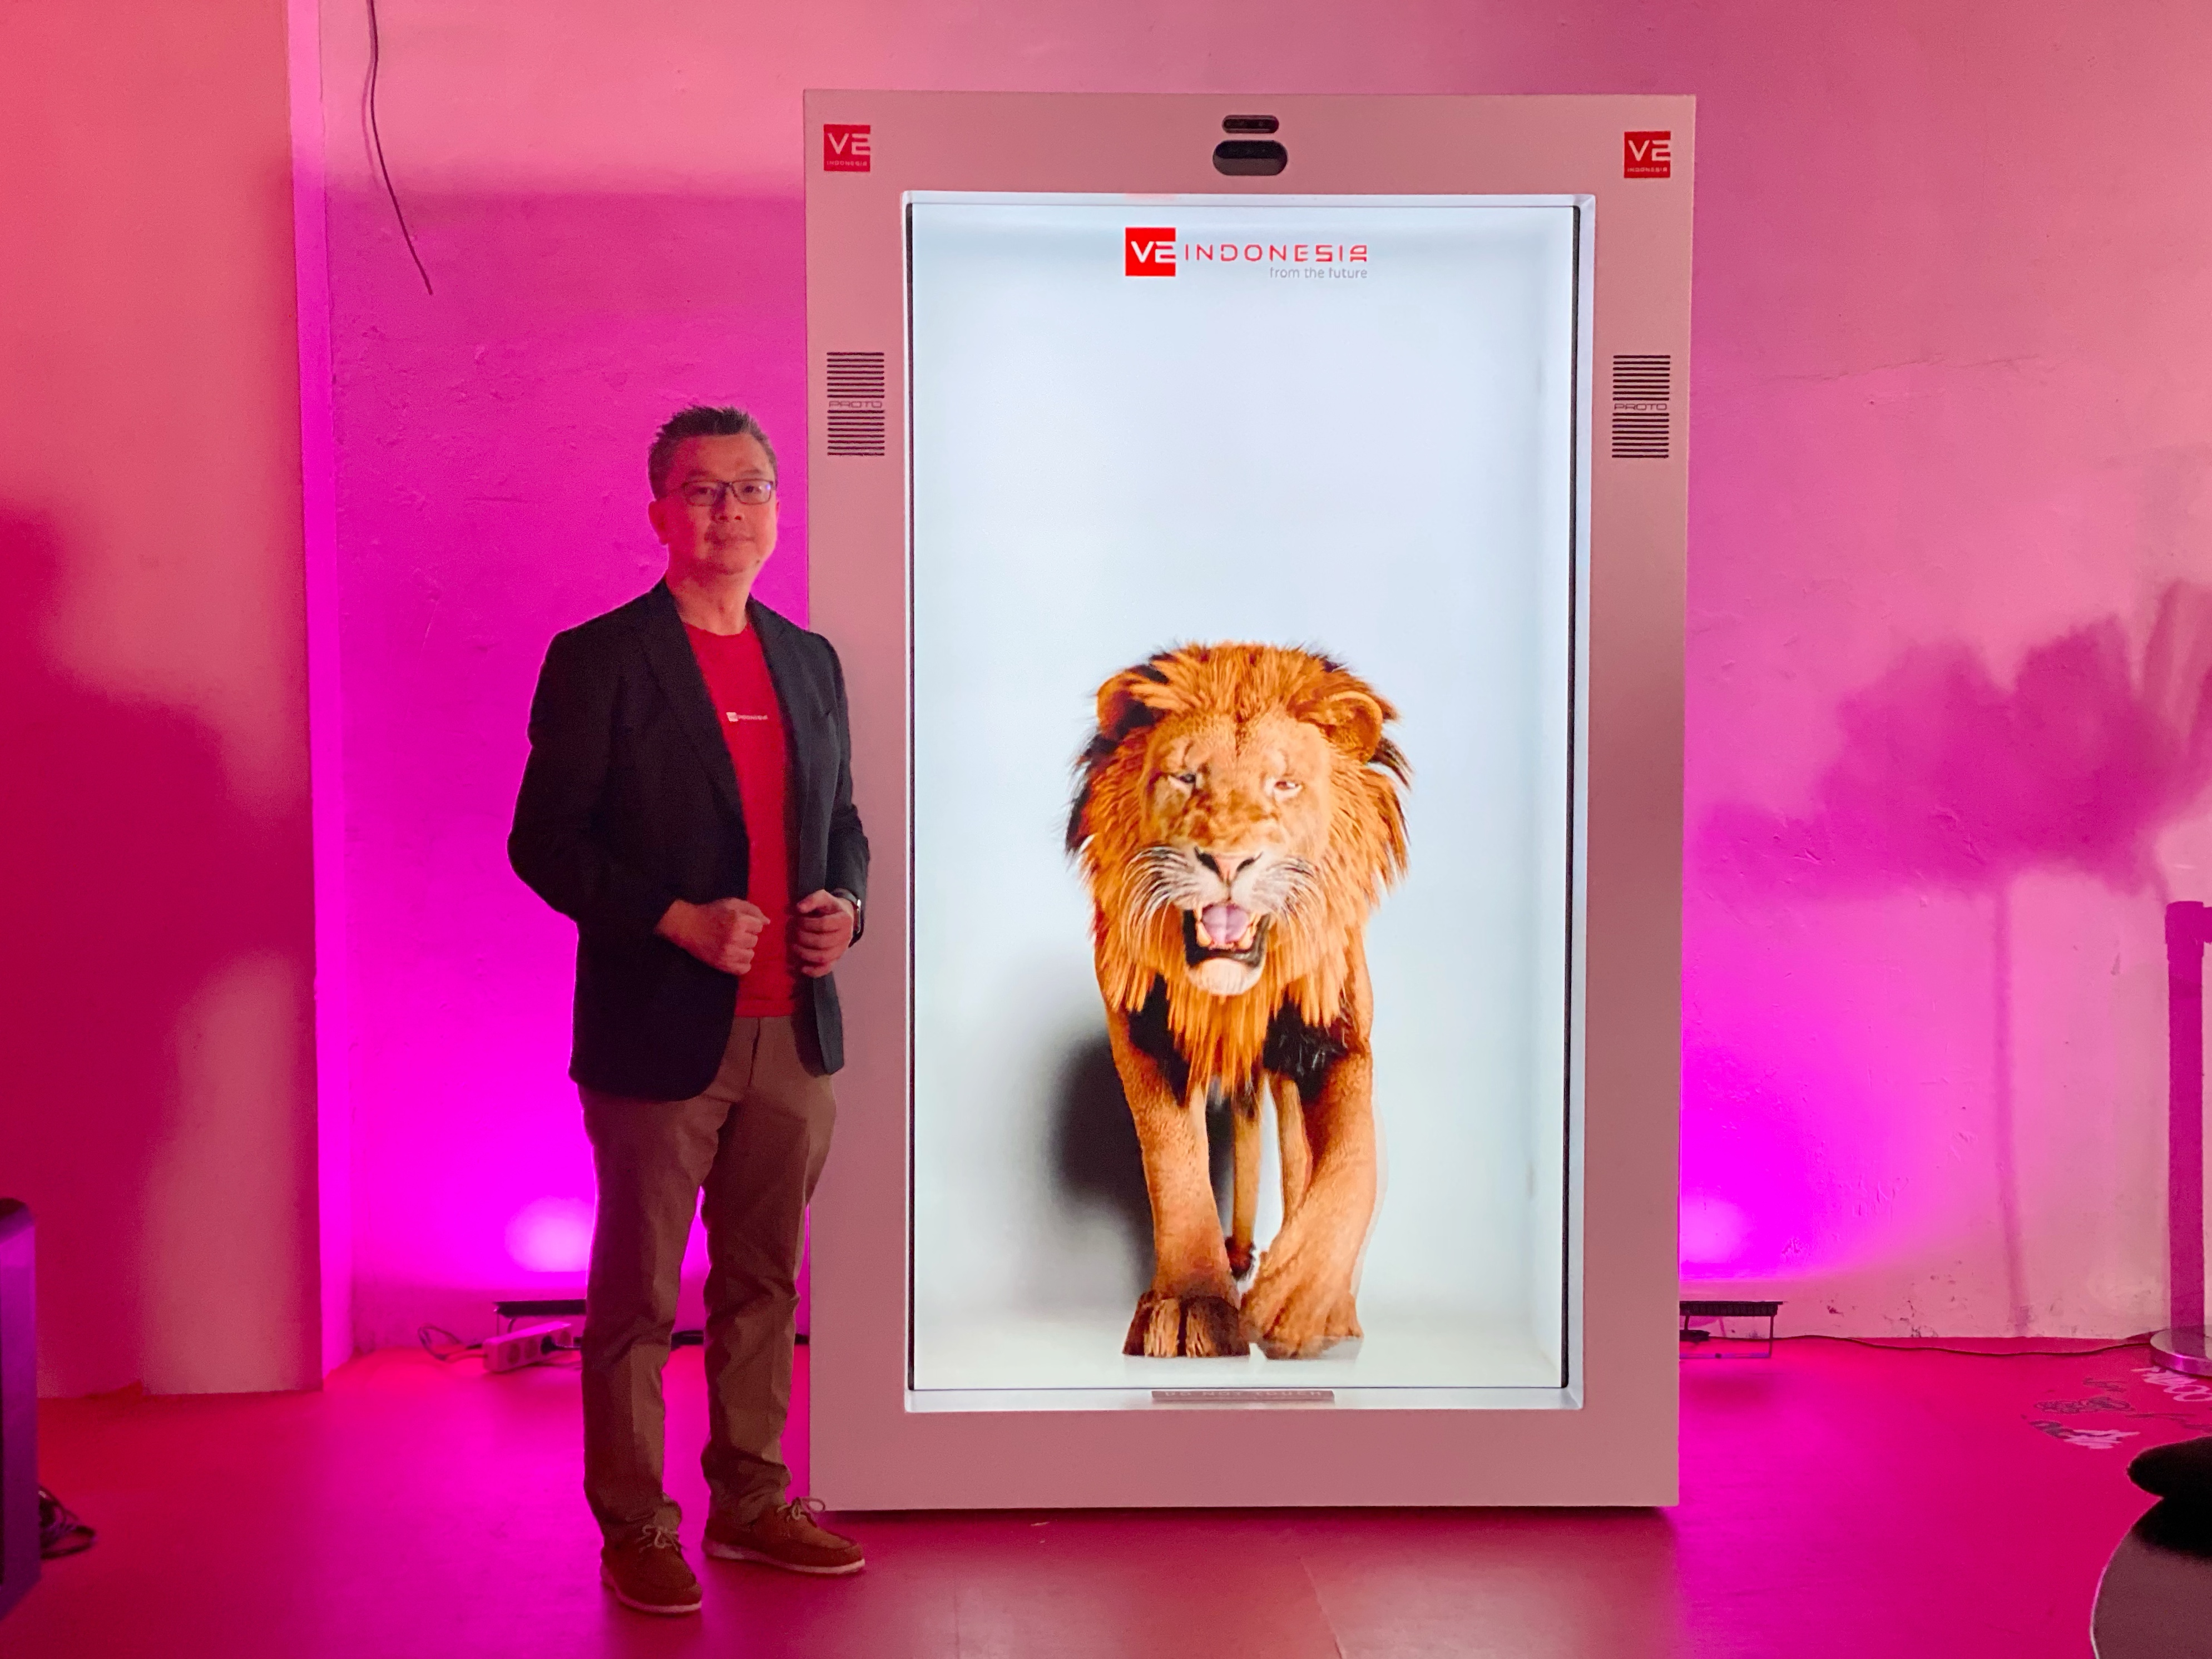
V2 Indonesia offers full-service indoor LED videotron rental, including installation, software configuration, and on-site technical support.
Our expert technicians have handled various projects from exhibitions and concerts to corporate events — delivering precise and safe installations every time.
Contact us today for a free consultation and the best offers:
Consult & Rent with V2 Indonesia
FAQ
Is installation included in the LED videotron rental from V2 Indonesia?
Yes. Every rental package includes professional installation by experienced technicians.
Can indoor LED videotrons be used in semi-outdoor areas?
Not recommended, as indoor panels are not designed to resist water or dust like outdoor types.
Is regular maintenance required?
Yes, periodic cleaning and cable inspections help maintain optimal performance.
How long does it take to install an indoor videotron?
It depends on the size and complexity of the project, typically around 2–6 hours for standard setups.